Login
Book a Demo

We’ve talked a lot about marketing analytics, the technology and tools that enable them on the Ruler Analytics blog over the last few months.
We’ve stuck to this theme for two reasons:
1. We’ve experienced firsthand how measuring the results of campaigns can grow business revenue faster than any other approach.
2. We know that marketers and marketing agencies struggle to prove ROI, and one of our major goals of both our analytics platform and blog content is to provide solutions to that problem.
In a recent ChartMogul guest post, we detailed our complete closed-loop marketing process.
While that process is highly effective for attributing revenue back to marketing campaigns, it requires the setup and synchronisation of six separate tools.
If you’re looking to take small steps towards accurate marketing ROI reporting, the full process may seem a little daunting.
So today, we want to offer a less arduous approach to collecting marketing analytics, using what you learn to improve sales conversations, and analysing reports to improve your campaigns.
It’s possible to enjoy many of the benefits of marketing analytics simply by adding marketing data to Pipedrive CRM.
Our basic process requires three tools: Ruler Analytics, Zapier, and Pipedrive CRM.
Before you get started, you’ll need accounts set up for all three systems.
With accounts established on these three platforms, the process is simple.
By default, Pipedrive doesn’t have; Source, Channel, Campaign and Keyword fields.
So we will need to create them manually.
Navigate to Settings > Customise Fields > and select which ever profile type you want to add your custom fields to (People, Organisations, Deals, etc.):
Navigate directly to the profile type you wish to add the field to (Person, Organisation, Deal, etc.), and add the field directly within its detail view:
Done! The custom field is available for use in your Pipedrive account.
Now we need to create the connection that populates the Pipedrive fields with Ruler Analytics data.
This is easy with Zapier.
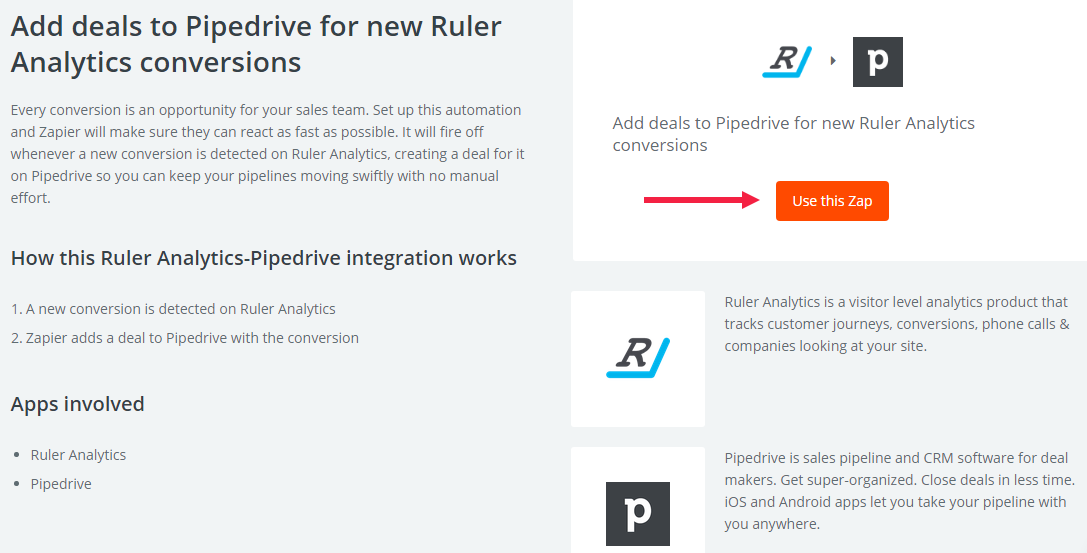
1. Head over to the Zapier dashboard and press the big, orange ‘Make a Zap!’ button, or click this link if you’re already signed in.
2. For the trigger app, you need to select Ruler Analytics. Simply start typing ‘Ruler Analytics’ in the search field and it should appear quite quickly.
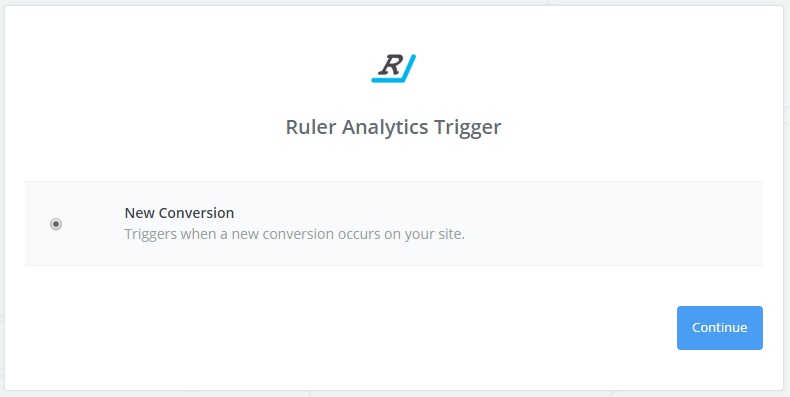
3. When prompted to Choose a Trigger, select New Conversion then press ‘Continue’.
4. Connect Zapier to the relevant Ruler Analytics account for the company whose conversions you wish you access in Pipedrive CRM.
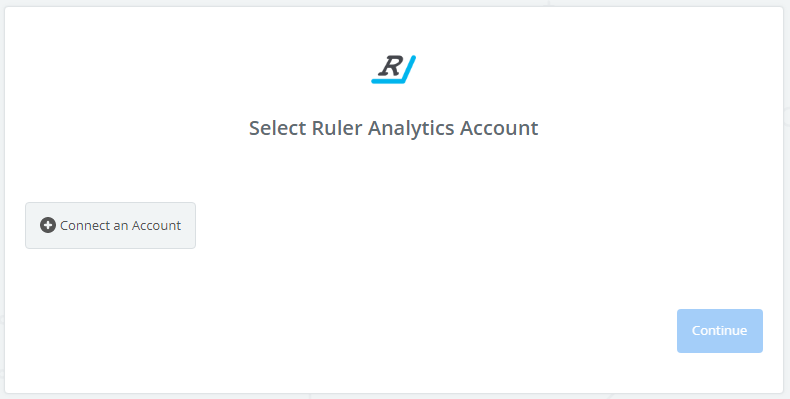
5. Select the website of the company whose conversions you wish you access in Pipedrive CRM. Once this process is complete, all conversion triggers recorded in Ruler Analytics will be automatically transferred to Pipedrive by Zapier, along with any relevant marketing data.
6. We now need to select Pipedrive as the trigger app, just as we did in Step 1, but this time we’ll start typing ‘Pipedrive’.
7. The trigger we will choose for Pipedrive is ‘Create a Deal’.
8. Next, we will need to select the appropriate Pipedrive values that we want to be populated with our Ruler Analytics conversion date. We use the following where values in {curly braces} denotes Ruler Analytics data:
a. Deal Title: {Name of Company} Deal
b. Status: Open
c. Person’s Name: {Contact Name}
d. Person’s Phone: {Contact Phone}
e. Person’s Name: {Contact Phone}
f. Source: Inbound
g. Channel: {Discovery Source}
h. Keyword: {Discovery Keyword}
9. Once you’ve mapped the values, you’re now ready to go. Press Continue and your Zap should now be ready to go live.
There are several huge benefits to setting up this integration to enable marketing data to be passed along to Pipedrive.
First, it allows you to connect leads back to the marketing campaigns that generated them.
This is useful for two reasons.
Knowing which campaigns generate the most and fewest leads allows you to engage in a process of constant improvement.
It also allows for the generation of valuable marketing reports. Marketers and agencies can tie leads and conversions directly back to the campaigns that generated them, using that information to create and deliver marketing-generated ROI reports to clients and executives.
The second major reason to add marketing data to Pipedrive is that it allows sales team members to have more targeted and personalised conversations with prospects.
For example, the Ruler Analytics platform has multiple features: phone call tracking, form tracking, keyword re-provided, and company tracking, among others.
Say we run multiple campaigns – one for each feature.
Some customers will be most interested in call tracking, while others may be compelled to interact with campaigns promoting our keyword re-provided feature.
Without marketing data in Pipedrive, our sales team wouldn’t know which specific feature generated the form conversion or purchase.
When they contacted the lead, they might spend too much time promoting features that the prospect has no interest in.
But with marketing data in Pipedrive, the sales team can see exactly which campaign generated the lead, allowing sales conversations to be targeted to that specific feature.
By connecting our marketing data from Ruler to Pipedrive, our sales and marketing teams are both able to engage in constant refinement, improvement, and personalisation, which in turn, leads to more prospects, more conversions, and more revenue.